dough
Once you have shaped the dough, cover it up and prove in the fridge, making certain it’s got enough room to go up without anything touching it.
I’ve mentioned proving dough in the refrigerator several times in this post, so I just want to expand on this a little.
This really depends on a variety of factors which I’ll cover next, but if you’re rising at normal room temperature, chances are the dough will need longer than an hour to prove.
Most recipes declare that you should allow a first rise time of one hour and another hour for the second
But a watched dough never rises, so don’t stare at it the whole time.
Eat a sandwich, make your bed, or reach work cooking the rest of one’s meal.
Let the dough do the work and try not to mess with it too much. [newline]Practically speaking, all of this means you shouldn’t let the workhorse bulk-ferment anywhere you wouldn’t desire to hang out.
If you’re working in an extremely hot kitchen, allow your dough to bulk ferment in cool a cabinet near to the floor.
Step 10: Practise & Improve
As a direct consequence of gluten softening, the dough protein matrix is conditioned to carry more of the carbon dioxide made by the yeast during fermentation and proofing.
In bread baking, we are attempting to ferment grain in order to leaven it.
We are also trying to release sugars trapped in the complex starch molecules to be utilized as yeast food, and much of it for flavor and crust color .
Yeast is a single-celled organism and only certain strains are used for fermenting grain.
- However, if the bread has recently started baking, you may well be out of luck.
It may look less important than some others, but once you get the hang of it, you’ll see the quality of the bread improve.
Sign up to be a part of our global community.
The aforementioned info in basics of bread making helps.
Your detailed description on basic steps on making bread are essentially helpful.
Prepping The Proofing Basket
In theory, you can just smash the moment yeast into your other ingredients and you’re ready to go.
Put your yeast in the warm sugar water and leave it for 10–15 minutes.
Yeast activation specialists refer to this stage as proofing.
I’m just now engaging in baking with and without sourdough, and I’m having a blast.
I just learned all about the autolyse method for the first time the other day, and tried a loaf which wasn’t half bad, but I need more education.
Many thanks for the trial and error and all the lovely visuals.
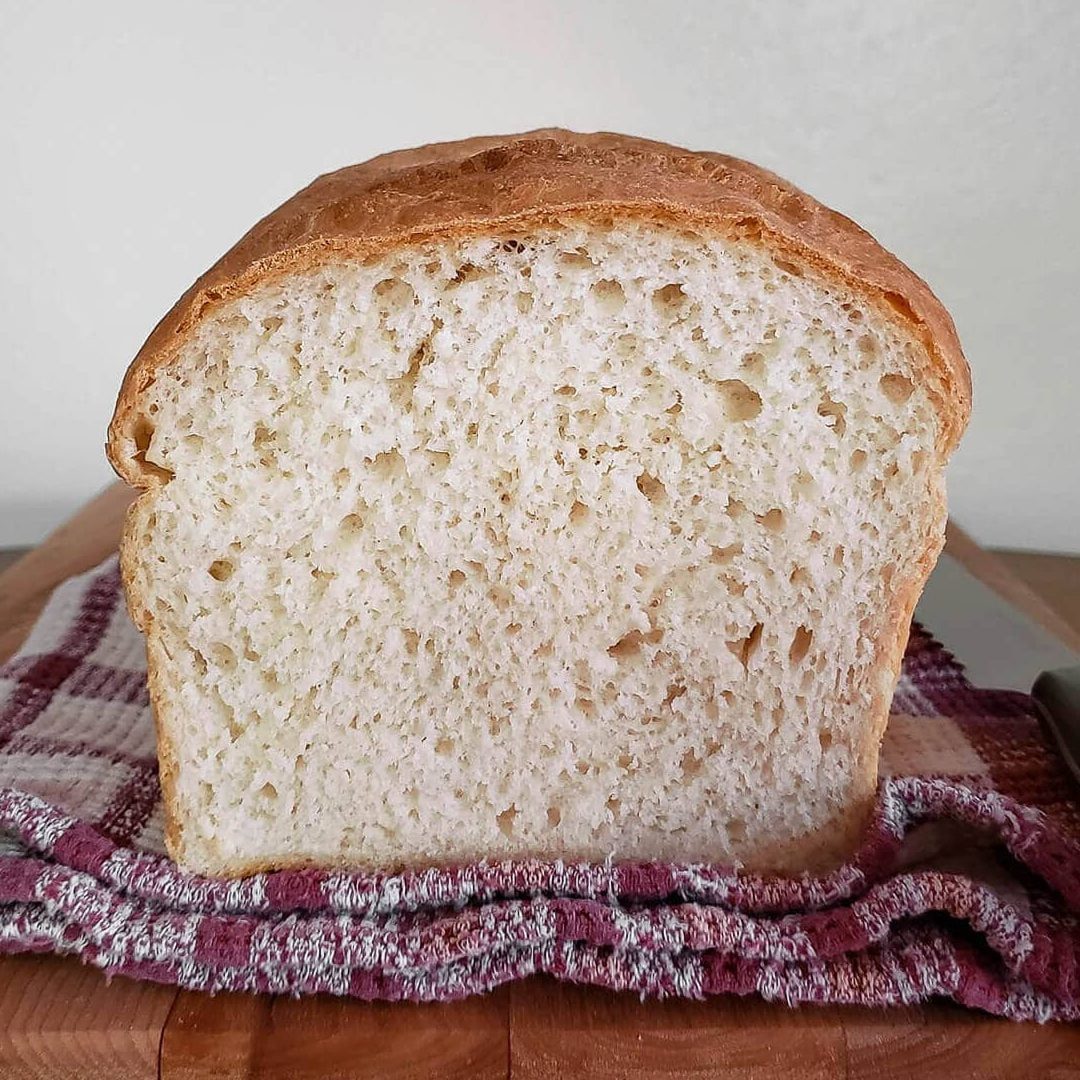
Baking bread at home is among the most satisfying things you can do.
However the whole process could be intimidating if you’re a newbie.
So i want to break bread baking terms and concepts down for you personally.
I’m also including some tips, tricks and FAQ’s that will help you crack this magical art of baking bread.
Reasons To Fold Your Dough After Proofing
This only serves to make your bread look flat and unattractive.
So, to recap; if you wish bread loaves that look attractive and taste delicious, practice the art of Zen, and allow the bulk rise to happen at a reliable pace.
Think about the coarse, whole grain breads we sometimes see today, and you could get yourself a better picture of the type of loaves that might have already been produced in those days.
Prior to starting the bread-making process, you should gather your entire ingredients and measure them accurately.
Chief among them is that the fermentation that produces good flavor really only takes place in earnest following the yeast have exhausted the majority of their oxygen supply.
If we allow our dough to rise too quickly, we’ll get plenty of CO2 but less alcohol than we wish, meaning our bread won’t taste nearly as good.
Furthermore, gluten is less temperature sensitive than yeast.
This will hurt our shaping efforts later and present us flatter, less sexy looking bread.
Contents
Trending Topic:
 Market Research Facilities Near Me
  Cfd Flex Vs Cfd Solver
  Tucker Carlson Gypsy Apocalypse
  CNBC Pre Market Futures
  Best Gdp Episode
  Stock market index: Tracker of change in the overall value of a stock market. They can be invested in via index funds.
  PlushCare: Virtual healthcare platform. Physical and mental health appointments are conducted over smartphone.
  90day Ticker
  Hunter Osborne Picture Uncensored
  Mutual Funds With Low Initial Investment